How to conduct a workplace hazard assessment, step by step
Walk the site, consult workers, review your records and reassess every change. A step-by-step hazard assessment in line with Safe Work Australia guidance.
هذا المقال متوفر بالإنجليزية حاليًا.
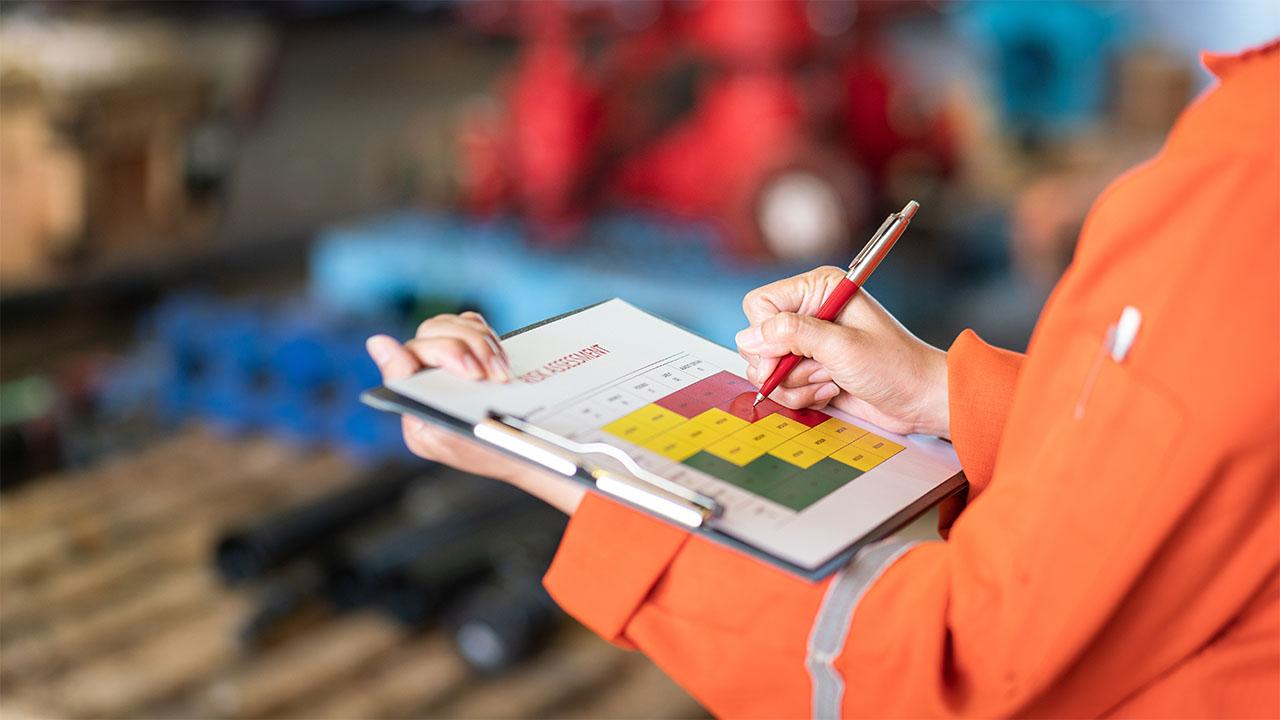
To conduct a workplace hazard assessment, walk the site, consult the workers, review your records and reassess every change to plant, equipment, materials or procedures. Record each hazard, work out how likely and how serious the harm could be, put in controls starting with the most effective, and check that they work. This is the process the Safe Work Australia model code on managing WHS risks sets out, and it works in any industry, from building sites to hospital wards.
Hazard assessment comes first. You can't judge how risky something is until you know it's there, so the rest of this guide starts with finding hazards before a fix is needed.
What a hazard is
A hazard is anything with the potential to cause harm. It can be obvious, like a live wire, or hidden, like a stressful workload that leads to burnout. Hazards fall into groups: physical, chemical, biological, ergonomic and psychosocial. Psychosocial hazards, such as bullying and violence, are part of the assessment too.
Finding hazards early is much cheaper than investigating an incident after it happens. Under the WHS laws, identifying hazards is a legal requirement, and it is the first step in managing risk.
Hazard assessment or risk assessment?
The two are linked but do different jobs.
- Hazard identification finds what could cause harm, such as a forklift travelling near pedestrians or a solvent that's flammable.
- Risk assessment asks how likely it is that harm will happen, and how serious it could be, given the controls already in place.
A fire hazard in a house is frayed wiring. The risk assessment asks how likely the wiring is to start a fire, given where it runs and what's nearby, and how bad the fire could get. You need both, but you start with the list of hazards.
Step by step
1. Plan the assessment
Decide what you're assessing, such as a site, a work area, a task or a piece of plant. Pick who will take part, including workers, supervisors and anyone from a contractor or supplier. Gather what you already have: previous assessments, safe work procedures, incident records and safety data sheets.
2. Walk the site
Walkarounds are the most common and effective way to find hazards. Look at the place where the work happens, not just at the plan. Be methodical:
- Walk the route the work follows, from delivery to finish.
- Go at different times, such as the start and end of a shift, when the site is busy or quiet, and at night if the work runs then.
- Use a checklist, so the same areas get the same attention each time.
- Look at what's been moved, stacked, repaired or left behind.
Note what you see, with photos where that helps. Don't judge yet. Just record.
3. Ask the people doing the work
Workers see the hazards every day. Ask them:
- What could go wrong here, and how?
- Where do you work around something, or skip a step?
- Which tasks do you find hardest, and why?
- What have you reported before, and what happened to it?
Watch a task being done. Work often differs from the procedure, and the gap is where injuries start. Give people a way to report hazards at any time, not just during a scheduled review.
4. Review your records
Past events show patterns. Check:
- incident and near-miss reports
- maintenance and inspection records
- workers' compensation claims and first aid logs
- audit findings and complaints
- safety data sheets for every chemical on site
A run of near misses at the same spot is a hazard, even if nobody has been hurt yet.
5. Reassess every change
Hazards appear when things change. Reassess before and after any change to:
- plant, tools or equipment, including new or secondhand items
- a process, a method or a procedure
- materials, chemicals or suppliers
- the layout, the workforce, the hours or the number of people on site
- the law, a code of practice or a standard that applies to the work
6. Describe each hazard
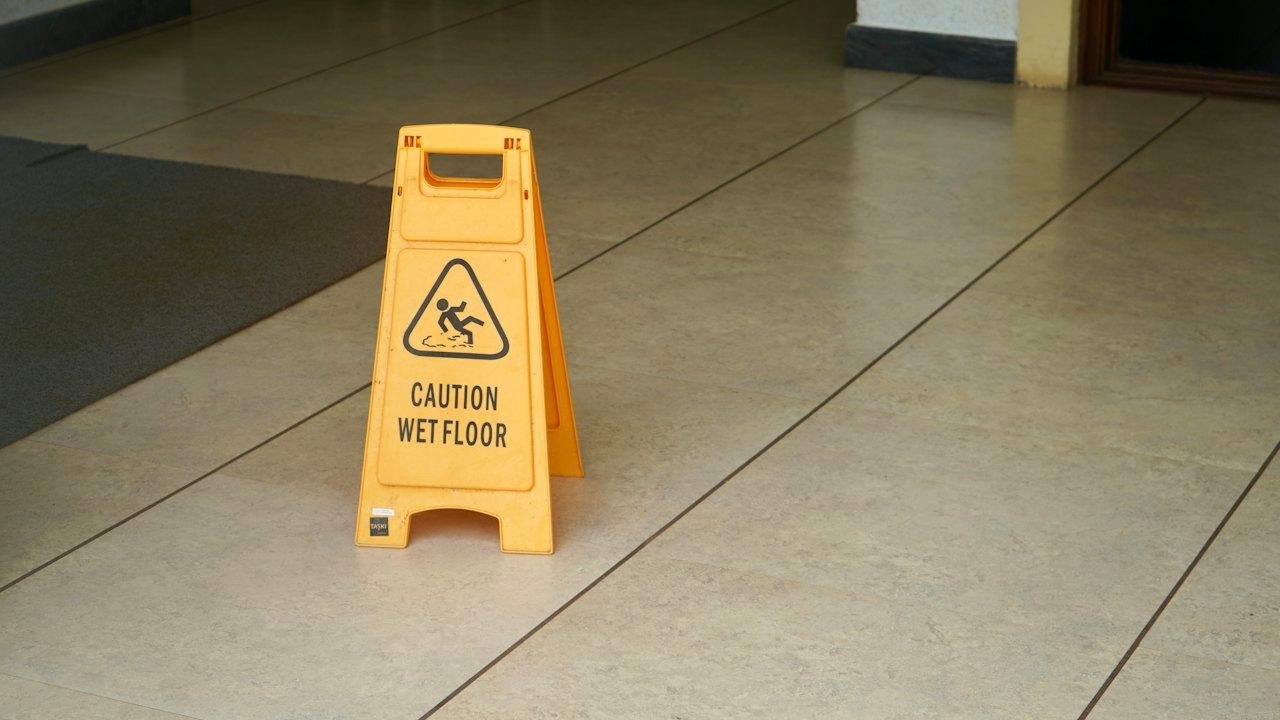
Be specific. "Slip hazard" isn't enough. Write down how someone could be harmed, for example: "A worker could slip on a wet floor by the wash-down bay and break a wrist." Then ask why the hazard exists. Understanding the cause points you to the right control. Clutter might come from a poor storage layout, and that means the fix is storage, not a reminder to tidy up.
A list of common unsafe practices can help you spot these hazards too. Watch for:
- not wearing the PPE the task requires
- not following established procedures
- working in an area that hasn't been assessed for hazards
- using the wrong tools or equipment for the job
- handling hazardous materials without the right precautions
- working in an unsafe posture or lifting heavy loads badly
- operating machinery without training or supervision
- tampering with safety devices, or not reporting a defect
- horseplay or other reckless behaviour
- not reporting unsafe conditions or near misses
Each one is a sign of a hazard the business needs to manage, not just a worker failing.
7. Assess the risk
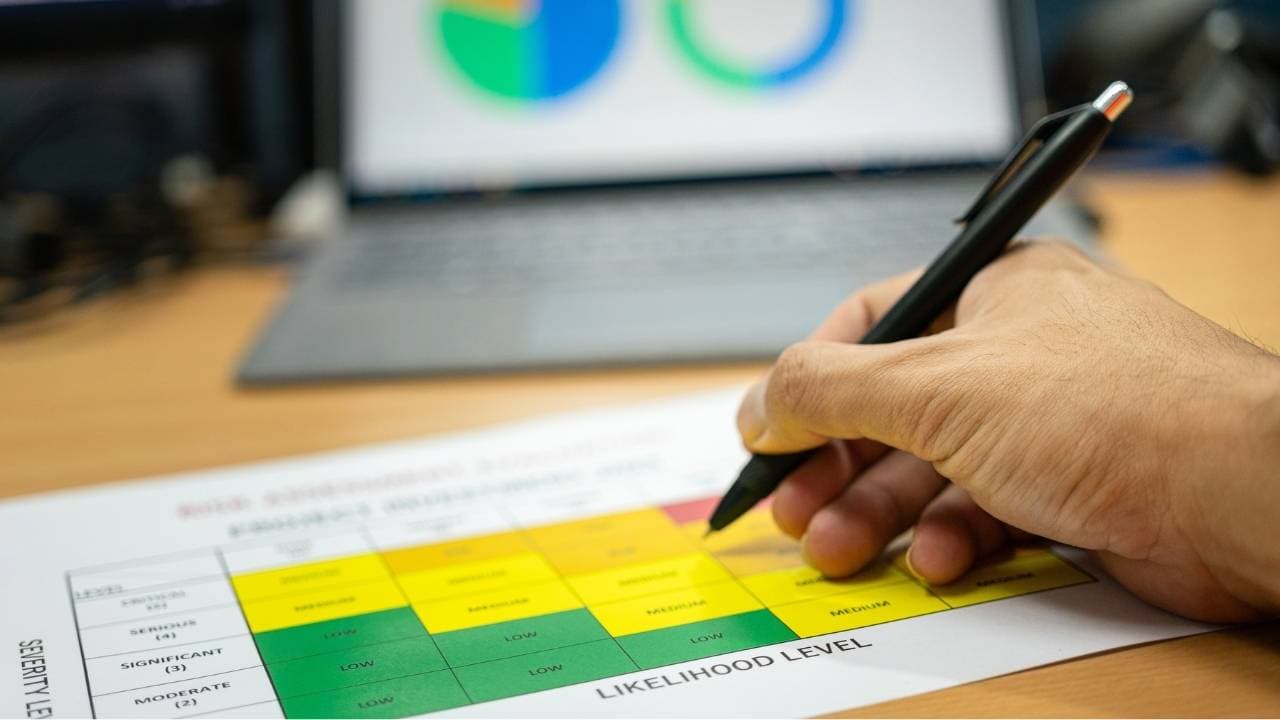
For each hazard, estimate how likely it is to cause harm and how severe that harm could be. Count the controls already in place and whether they work. A risk matrix with a simple scale, such as low, medium and high, is enough for most workplaces. Rank the hazards, and deal with the highest first.
8. Choose and apply the controls
Use the hierarchy of controls, starting at the top:
- Eliminate. Remove the hazard. Stop using the chemical, or redesign the task so no one works at height.
- Substitute. Replace it with something less hazardous, such as a quieter machine or a less toxic cleaner.
- Engineer. Isolate the hazard. Fit guards, barriers, ventilation or a lower work platform.
- Administer. Change the way the work is done. Use job rotation, safe work procedures, training and supervision.
- Protect the person. Use PPE as the last line, alongside the other controls.
Here is how that plays out on different sites:
- Office. A walkway blocked by boxes is a trip hazard. Better storage is an engineering control, and a rule to keep walkways clear is an administrative one.
- Warehouse. Forklifts are a hazard to pedestrians. Set speed limits and marked traffic routes, and fit reversing alarms or proximity sensors.
- Construction. Falls from height are serious. Where possible, design the work to be done at ground level. If that isn't possible, use guardrails. Harnesses are a last resort.
If the best control is costly, the law still requires you to do what is reasonably practicable. That means the effort and cost should match the level of risk. It doesn't mean cutting corners on a serious hazard to save money.
9. Record and review
Write down the hazards, the risk ratings, the controls and who is responsible for each one. Check the controls after they're in place, and set a date to review them. Review sooner whenever something changes.
When to review the controls
Controls wear out, or the work moves on. Review them when:
- a new hazard is found
- an incident or near miss happens
- the plant, process or materials change
- the law, a code of practice or a standard changes
- workers raise a concern
- an injury or illness rate rises
- a control stops working or is no longer used
The WHS Regulations also require a review in set cases, such as when a control doesn't work, before a change at the workplace, or when a health and safety representative asks for one. Check the review triggers in your state's code.
Check your controls in three ways: walk the site and watch the work, ask workers what's working, and track near misses and incidents for trends.
Keep the records
A good record shows what you looked at, what you found, what you did and what you reviewed. It also helps when you plan new work, because you can see what's already been dealt with. Keep:
- hazard identification notes and photos
- risk assessments and the ratings behind them
- records of the controls put in place and who owns them
- review dates and what changed
- training and information given to workers
- incident and investigation reports
- feedback and suggestions from workers
Store them somewhere everyone who needs them can reach, and keep them easy to find.
Start with templates
You don't need to start from a blank page. A risk assessment form gives you the columns, and a risk register keeps every hazard, rating and control in one place. For high-risk construction work, a SWMS takes the hazards and controls for each task and sets out how they'll be used.
For a deeper look at the risk side, read risk assessment 101. When a hazard shows up on the job, your crew should know how to report it.
Common questions
How often should a hazard assessment be done? Do a full assessment before work starts, then review it on a set schedule and whenever something changes. Higher-risk work needs more frequent checks.
Who should do the assessment? Someone competent in the work, with the workers who do it involved. A safety adviser can help, but the people closest to the work often spot what outsiders miss.
Do I need a formal risk matrix? Not necessarily. A simple scale works if you apply it the same way every time, and the ratings lead to actions you can track.
Is a hazard assessment the same as a SWMS? No. A hazard assessment looks at the whole workplace or task. A SWMS is a written method for specific high-risk construction work, and it's built from the hazards and controls the assessment identified.
This guide is general information, not legal advice. Check the current law with your WHS regulator.
مكتبة النماذج
طبّق ذلك عمليًا مع نموذج SWMS جاهز.
تصفّح نماذج SWMS المكتوبة للحِرف في أستراليا. عاين أيًّا منها مجانًا، ثم عدّل واحدًا ليناسب مهمتك في دقائق.
نماذج لهذا العمل
تصفّح مكتبة النماذجأدلة ذات صلة
إدارة المخاطر
Hazard vs risk: what's the difference? With examples
A hazard is anything that could cause harm; a risk is the chance it will, and how bad the harm could be. See the difference with workplace examples.
إدارة المخاطر
Risk assessment 101: what it is and how to get it right
What a risk assessment is, how it differs from a hazard, how to use a risk matrix, and the five steps to assess and control workplace risks.

إدارة المخاطر
Collaborative risk management: involving workers in safety
How to share hazard finding, risk assessment and control decisions with workers, supervisors and contractors, so problems are caught early and controls stick.